Frog Hollow Farm Peach Tartlets
One of my favorite things about living in California (again) is that we have seasons!! Albeit, not crazy seasons in terms of blizzards and extreme heat but we have all sorts of amazing seasonal fruits and veggies. And after two years, I finally invested in a handy dandy and beautiful Seasonal Fruits and Veggies Poster and have really started to dive into the seasons here. And it's awesome knowing that if I head down to my local farmer's market in July, there's a good chance that I'm going to find stone fruits, avos, berries, potatoes, various types of squash and tomatoes! I also learned that I never knew how much I loved stone fruit season until this year. It is my jam, although I've yet to actually make jam out of it!
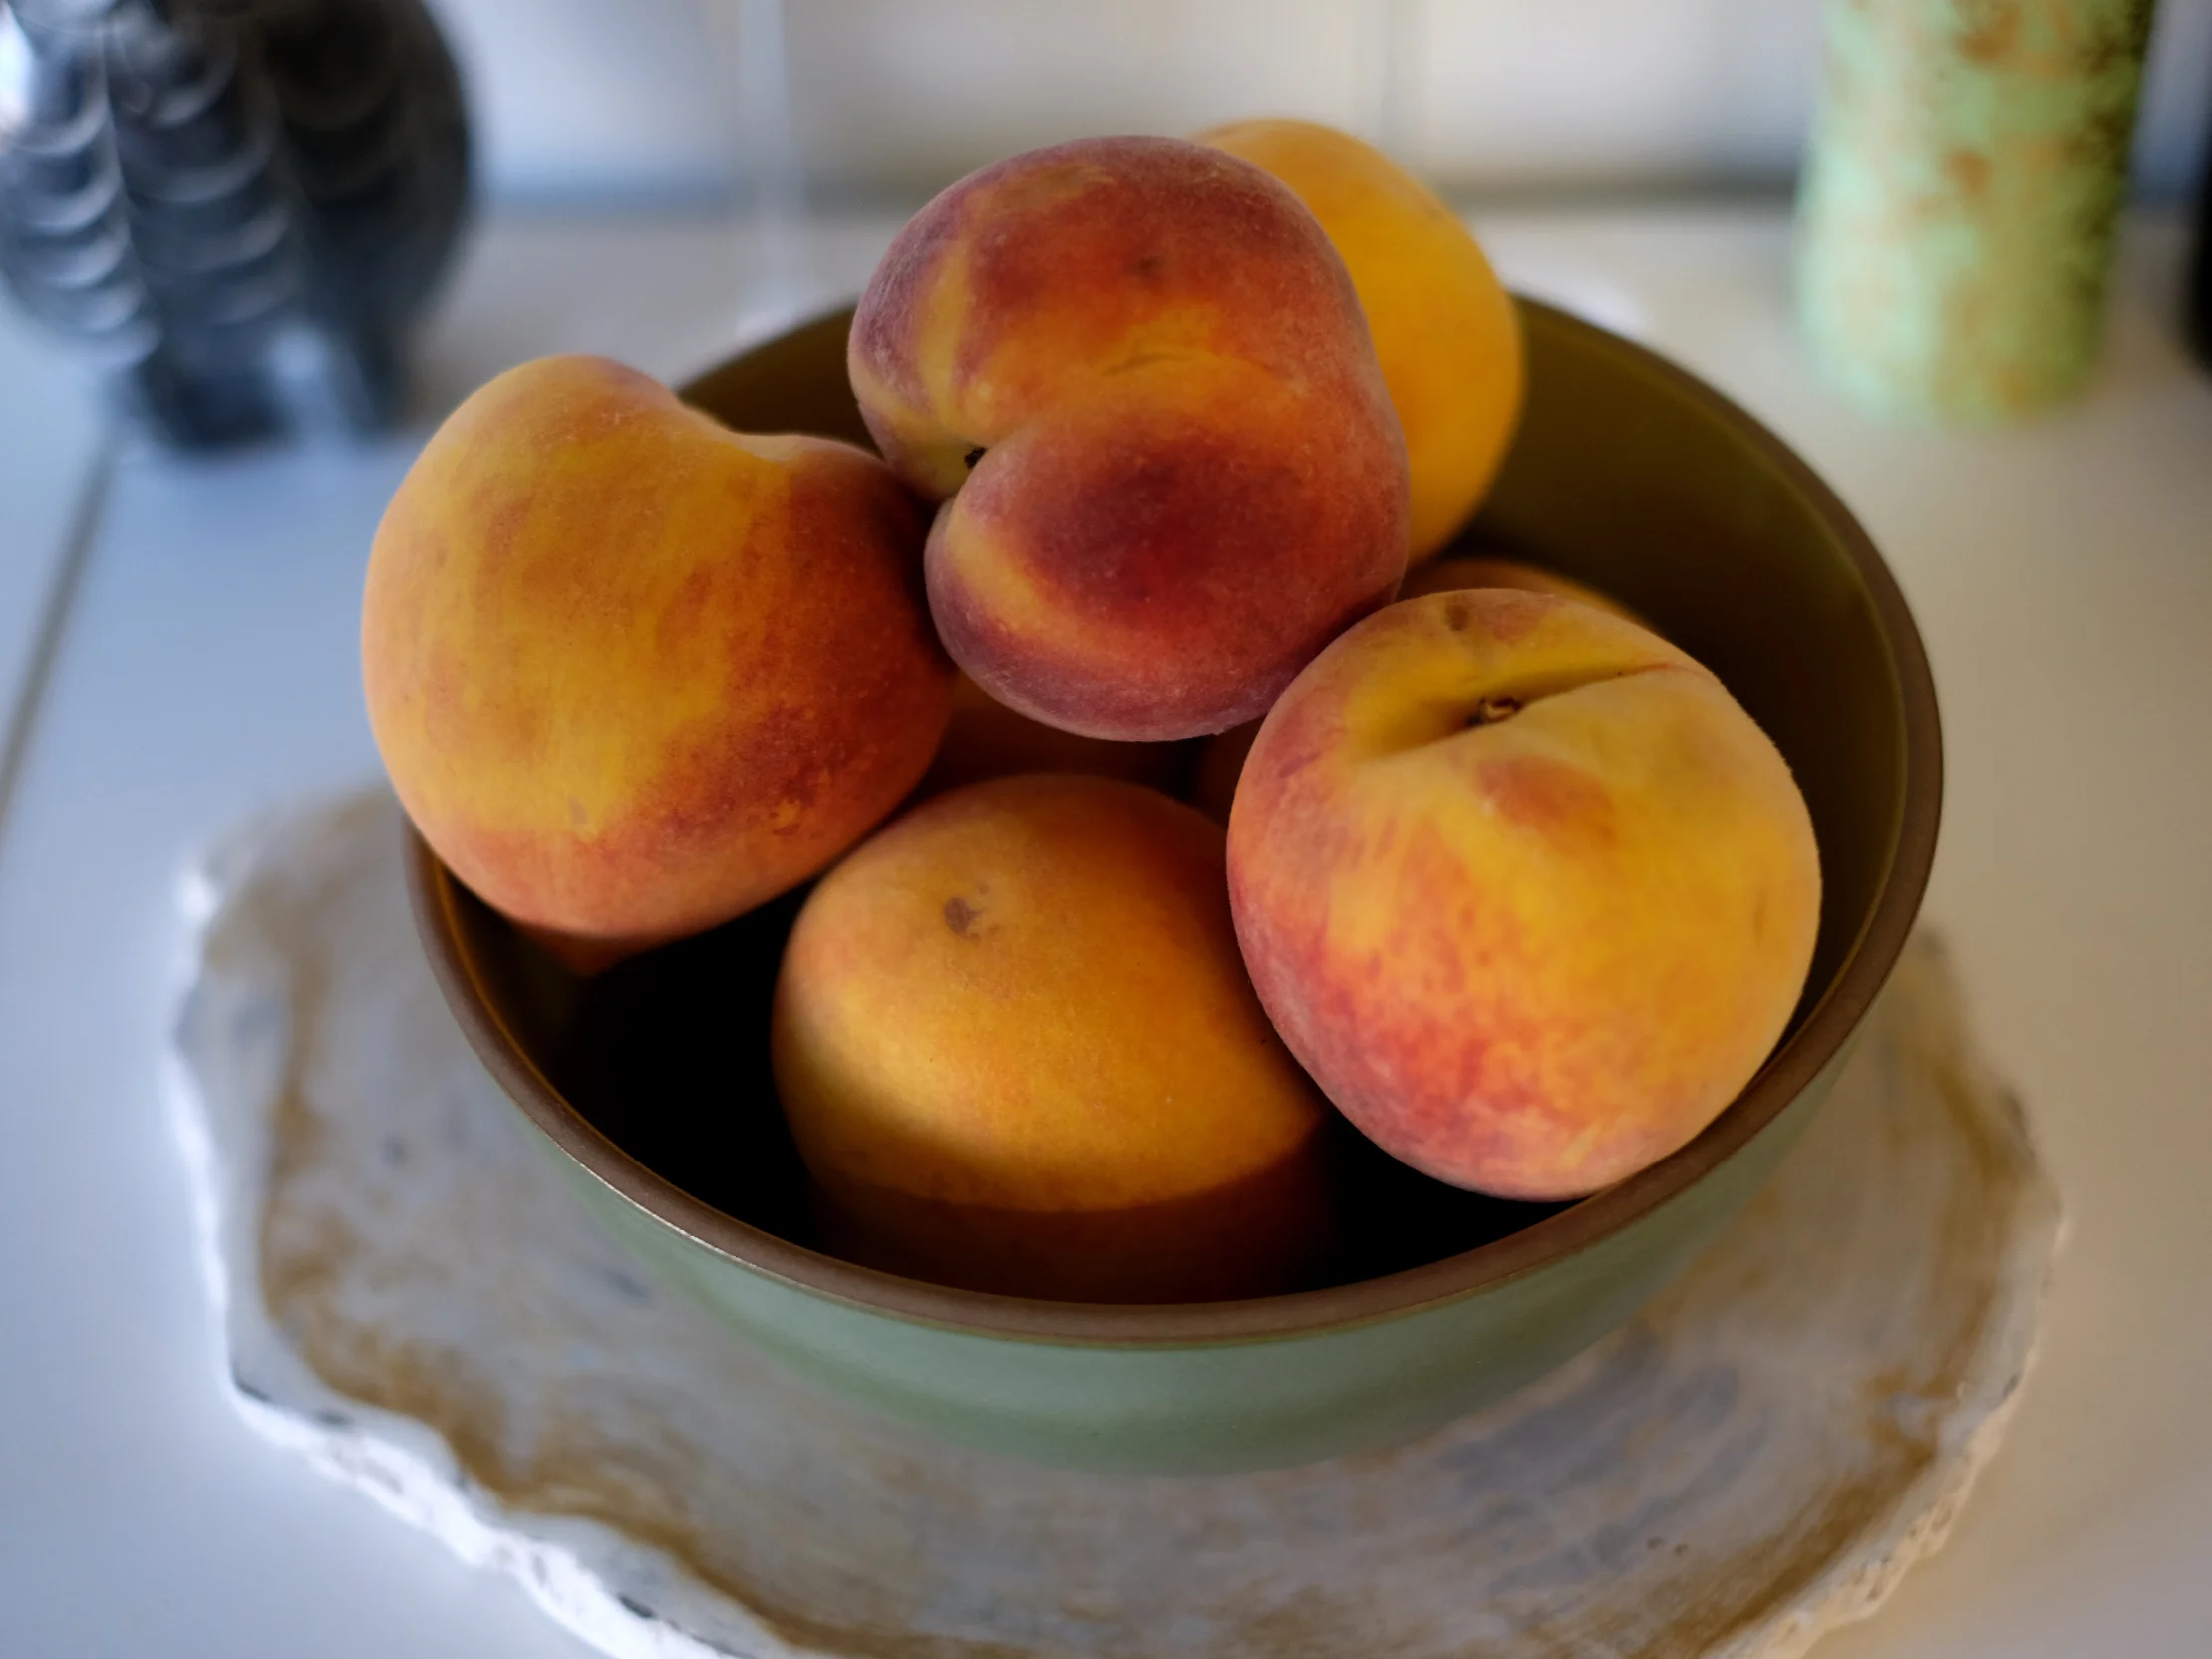
And since some of these fruit and veggie seasons come and go in the blink of an eye, I have been capitalizing on the berry/stone fruit season and stocking up at every Saturday farmer's market run. Mainly because they're fantastic and partly because I feel like it's my duty to get my fill. Which is kinda how this peach tartlet came to life. I went a little crazy at this last farmer's market and bought a boatload of Frog Hollow Farm Suncrest Peaches. And as I just had a to-die-for chocolate on chocolate tart made by the lovely author of A Life Well Lived, Amanda Frederickson Smiley followed by the cutest and most delicious American Flag Tart, courtesy of Jenn Yee at Deliciously Noted (all in the same day I might add), I decided I had to try my hand at tarts too. So I went out to my local Williams-Sonoma and picked up some cute little tartlet pans and pulled out my go to cookbook for all things baked: Bouchon Bakery.


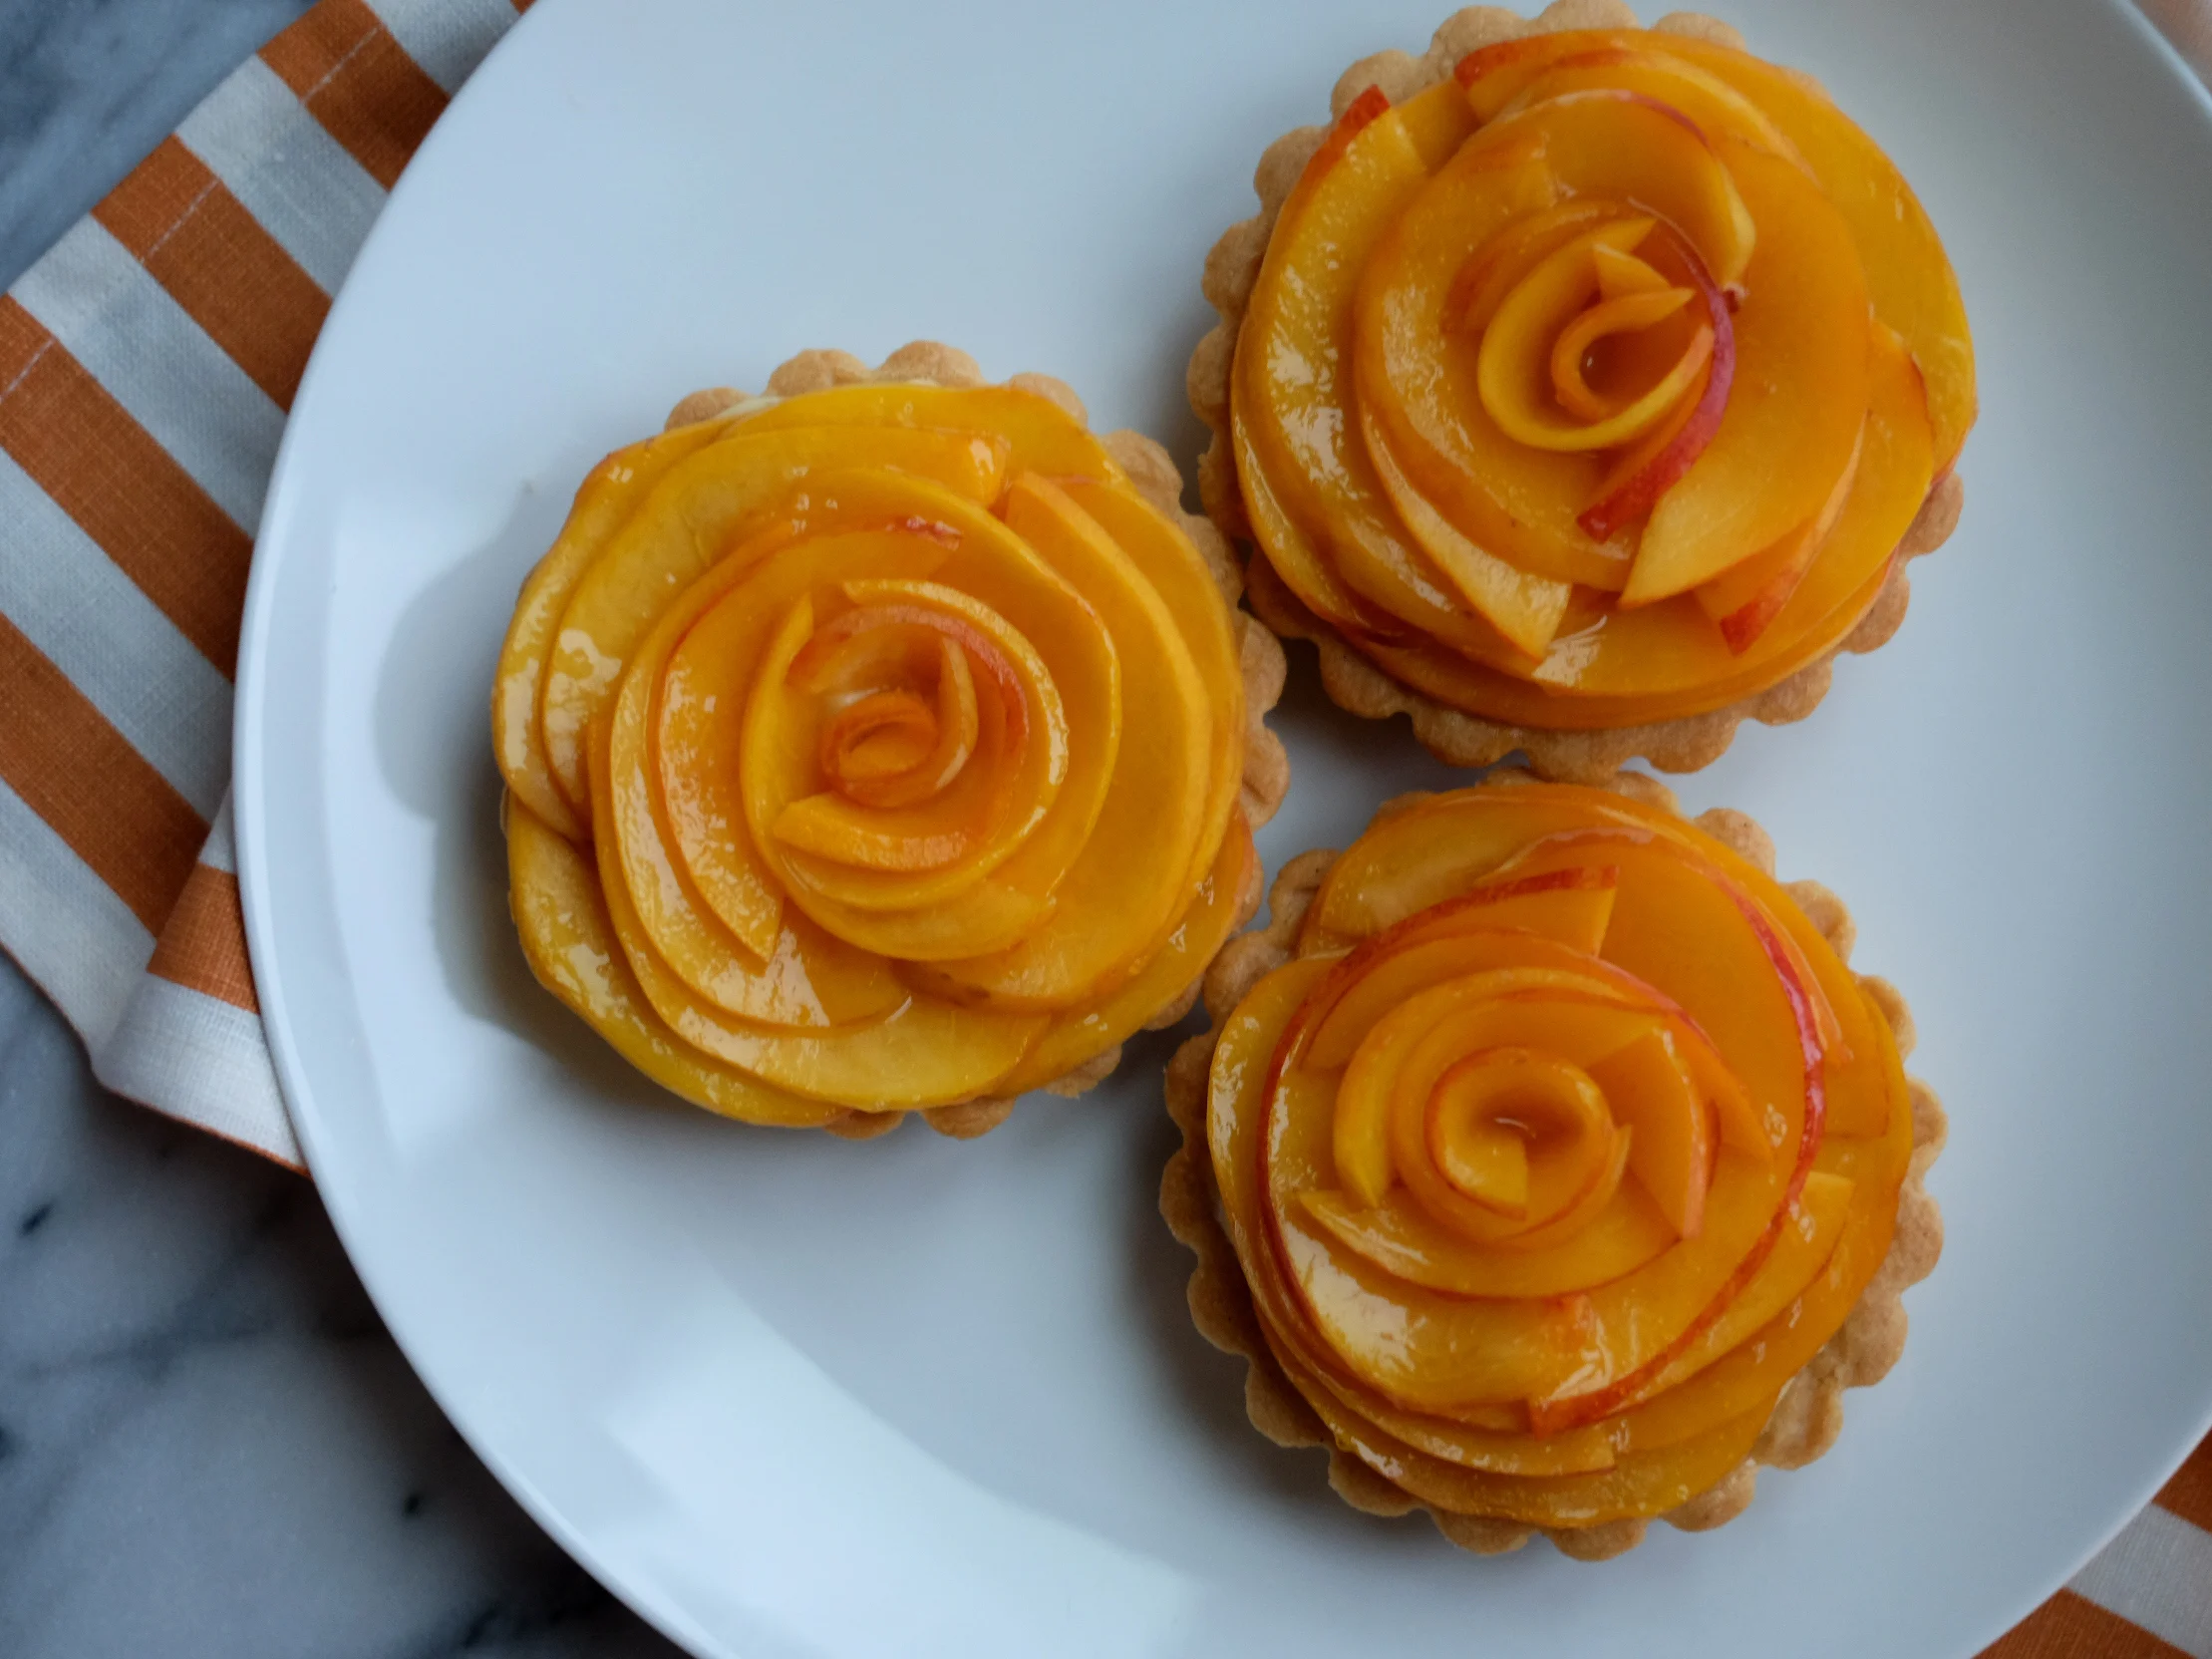
We're all entitled to our own opinions but in my opinion, Thomas Keller is one of THE BEST chefs out there and if he stands behind something enough to put it in his book, I'm willing to bet that it's gonna be good. So for my first ever tartlet, I turned to him for my pâte sucrée and pastry cream recipes. Because he's a pro and I've never made either. The pâte sucrée is somewhat simple, the process explained in great detail and the results are incredible. It ends up almost cookie like and is rich, sweet and everything you could hope for from a tart crust. The pastry cream also comes out great but let me tell you, it's not easy!! Or maybe it is but as someone who has never attempted pastry creme, I have to share that it's not easy as pie. It's hard work and trying to push the cream through a fine mesh sieve, is quite a feat! That being said, everything worked out well and tasted delicious! And with that, I give you my take on a peach tartlet: pâte sucrée crust filled with pastry cream and topped with gorgeous, fresh Frog Hollow Farm Suncrest Peaches brushed with lilikoi jelly from Maui Upcountry Jams and Jellies.
Frog Hollow Farm Peach Tartlets
Pâte sucrée crust and pastry cream from the Bouchon Bakery Cookbook
Makes 6 tartlets
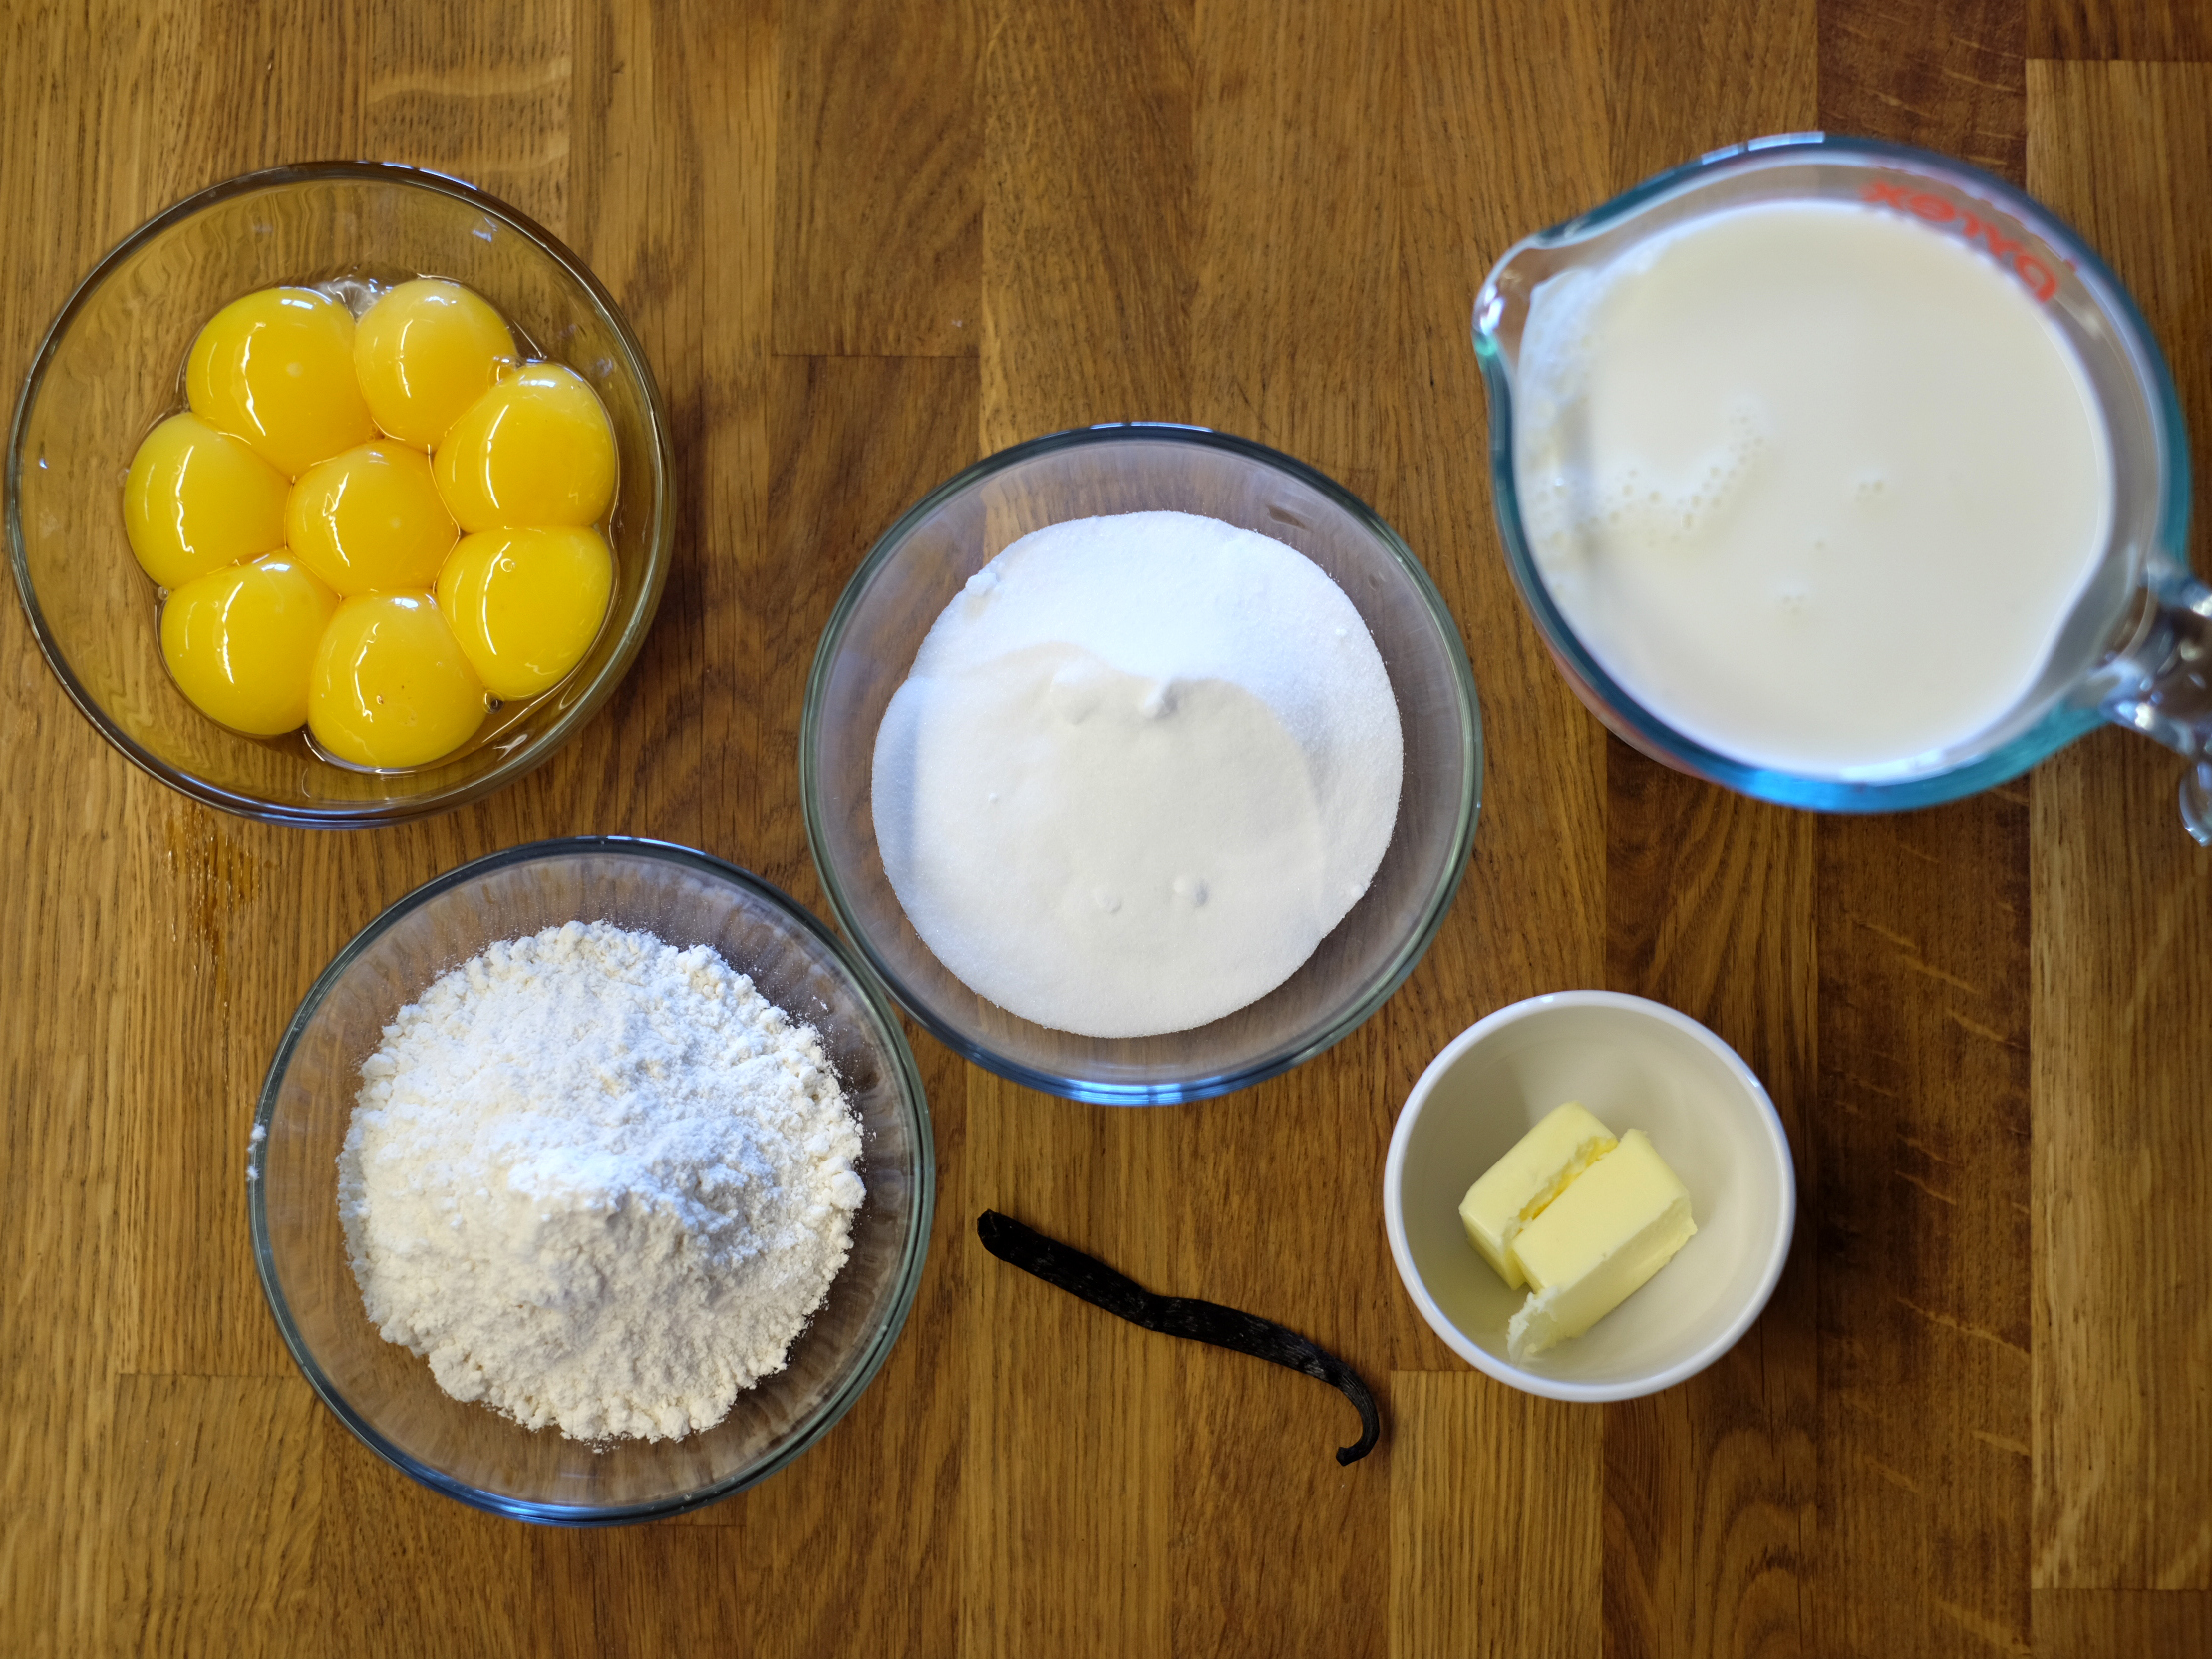
INGREDIENTS
PATE SUCREE
- 2 1/2 c. (+ extra for dusting pans) all-purpose flour
- 1/4 c. + 2 1/2 Tbsp. powdered sugar
- 3/4 c. + 1 Tbsp. powdered sugar
- 1/4 c. + 3 Tbsp. of almond flour
- 8 oz. of unsalted butter
- 1/2 vanilla bean, split lengthwise
- 3 1/2 Tbsp. of Eggs
- Cooking spray
PASTRY CREAM
1/2 c. + 1 Tbsp. egg yolks
1/2 vanilla bean, split lengthwise
1/2 c. + 1 Tbsp. granulated sugar
1/2 c. + 1 1/2 Tbsp. custard powder or all-purpose flour
2 c. + 3 Tbsp. whole milk
1 oz. unsalted butter, cut into 1/4" pieces, at room temperature
Ice
PEACHES
- 2 peaches, thinly sliced
- 1 tsp. lilikoi jelly mixed with 1/8 tsp. water
TOOLS
- Tartlet Pans
- Fine-mesh sieve/strainer
- Rice
- Measuring spoons and cups
- Glass measuring cup
- Mixing bowls
- Silicone spatula
- Bowl scraper
- Whisk
- Stand mixer
- Plastic wrap
- Parchment paper
- Rolling Pin
- Marble pastry board
- Cutting board
- Chef's knife
- Large saucepan
- Disposable pastry bag
- Pastry Brush
FIX
PATE SUCREE
In mixing bowl sift the flour, 1/4 cup + 1 tablespoon. of powdered sugar and almond flour.
In bowl of stand mixer, mix butter with paddle attachment and cream together until it has the consistency of mayonnaise.
Scrape the seeds from the vanilla bean, add them to the butter mixture and mix on medium-low speed for about 30 seconds.
Sift 3/4 cup + 1 tablespoon powdered sugar and mix for 1 minute, until fluffy.
Add dry ingredients in 2 additions, mixing for 15-30 seconds after each or until combined.
Scrape down the sides and add the eggs and mix on low speed until just combined 15-30 seconds.
Transfer dough to marble pastry board and work it together, smearing and blending the dough from one end to the other with the palm of your hand. Repeat until thoroughly combined.
Divide the dough into two equal portions and form a 4-inch by 6-inch rectangle, about 3/4-inch thick . Wrap in plastic wrap and refrigerate until firm (about 2 hours, but preferably overnight).
Grease and flour each tartlet pan.
Roll out dough between two pieces of parchment paper (using rolling pin) till it's about 1/8-inch thick. Cut six 5-inch circles and press each circle into its respective tartlet pan. Trim edges by rolling rolling pin over edges of tartlet pan. Dock dough (stab with fork prongs all over).
Freeze for at least an hour.
PASTRY CREAM
Set up an ice bath. Place a medium bowl in the ice water and set a fine-mesh strainer over the bowl.
Put yolks in bowl of stand mixer fitted with the whisk attachment. Scrape seeds from the vanilla bean, add them to the yolks and mix on medium-low speed for about 30 seconds.
Reduce the speed to low and slowly pour in the sugar, then whisk on medium speed until lighter in color, about 1-3 minutes. Scrape down the sides and bottom of the bowl, then whisk on medium-high speed for about 3 minutes, until the mixture is pale yellow and thick. When the whisk is lifted, the mixture should form a slowly dissolving ribbon.
Reduce speed to low, add the custard powder or flour, and mix for 30 seconds. Scrape down the sides and bottom of the bowl. With the mixer running on the lowest speed, slowly pour in the milk. Scrape the bowl again and mix on low speed for another minute, or until combined.
Pour the mixture into a large saucepan, set over medium heat and stir gently with silicone spatula until it begins to thicken. Switch to a whisk and whisk as the cream comes to a simmer, rotating the whisk around the bottom to keep the cream from scorching. Once you see bubbles breaking the surface, cook for about 5 minutes longer, whisking constantly, until the pastry cream has thickened.
Pour pastry cream through the strainer, pressing gently on it to push the thickened cream through. Whisk for about 1 minute to cool slightly. Then whisk in the butter in 2 additions.
Press a piece of plastic wrap against the surface of the cream to prevent a skin from forming. Refrigerate for at least 1 hour.
ASSEMBLY
- Preheat the oven to 325°F. Line a sheet pan with a parchment paper.
Line frozen tart rings with parchment paper and fill with rice. Bake for 10 minutes, then rotate the pan and bake for another 10 minutes or until the dough is set and no longer sticks to the parchment paper.
Remove parchment and rice. Re-dock dough if necessary. Return pan to the oven, and bake for another 12-18 minutes or until the dough is cooked through and golden brown. Set the pan on a cooling rack and cool completely.
Once tart shells have cooled, fill the pastry bag with the pastry cream.
Fill the tart shells with cream to 1/4" inch from the rim of the shells.
Starting on the outside, lay peach slices down in concentric circles, filling the entire tart.
Brush with lilikoi mixture.
Serve and enjoy!
Note: The tarts are best the same day they are assembled. They can be refrigerated for 4 to 6 hours; remove them from the refrigerator 20 minutes before serving.